
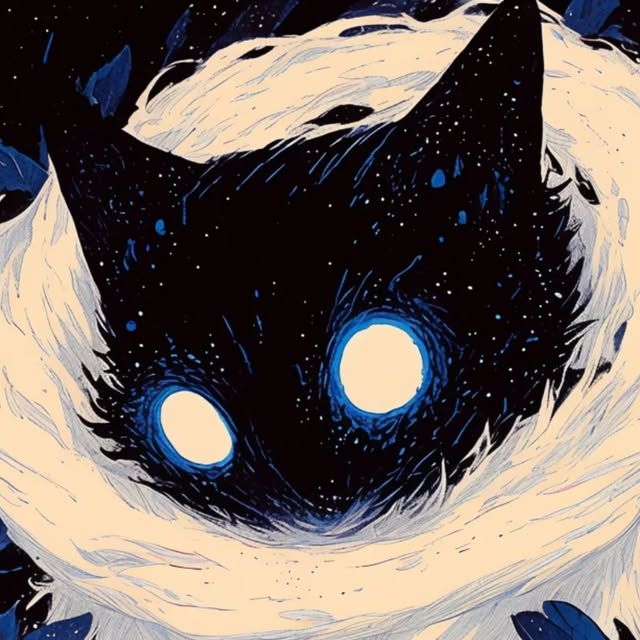
What's the difference between a cover image and an inline image?
When you're writing or putting together content for the web, cover images and inline images are the two main types of visuals you'll use. They both serve totally different purposes and go in different spots.
- Cover Image
A cover image sometimes called a featured image, header, or thumbnail is the main visual that represents your whole article.
- Where it goes: Right at the top of your post (usually above the title), or as the preview thumbnail on your homepage and when you share the link on social media.
- What it does: It's the hook. It grabs people's attention and makes them want to click and read. It also sets the overall mood or style for the piece.
- Inline Image
An inline image is any graphic or photo you drop right into the middle of your text or paragraphs.
- Where it goes: Right inside the body of the article, usually nestled between paragraphs or under a subheading to back up what you're talking about.
- What it does: It acts as an example or visual aid. It helps break up a giant wall of text so the page is easier on the eyes, and it clarifies specific points you're making.
Quick Breakdown
| Feature | Cover Image | Inline Image |
|---|---|---|
| Where it sits | Top of the page / Homepage preview | Inside the paragraphs |
| Main job | Represents the whole topic / Gets clicks | Illustrates a specific point |
| How many | Usually just 1 per post | As many as you need |
Then, how do I get started?
First of all, you need a design application called Canva. So, what is Canva?
Canva is an online design and publishing tool that allows beginners and professionals to create visual content easily. You can design posters, presentations, and social media graphics without needing expert skills.
Once you have installed the application, let's get started with a short and simple editing tutorial. This app is very beginner-friendly.
This is a step-by-step tutorial:
1. Open Canva anda custom size
Once it is open, you will see the initial screen, where you can create a custom design size according to your preferences.
2. Adjust the background
Customize the background to your liking; you can change the color.
3. You can also search for elements
You can add elements according to your needs and preferences. You can search for them using the area marked by the circle in the photo.
4. Search and select the element
If you like 3D elements, you can search for them, and there are plenty of 3D elements available. You can also add gradients, customizing them to fit your needs and personal taste.
5. Add Fonts
Add a font for information, a watermark, or anything else to your design. You can choose from the other available fonts to match your taste.
6. Download/Export File
Once everything is finished and your design is ready, you can download or export it as indicated by the circled area. You can adjust the quality and even choose whether to download the entire design or just specific pages.
It is very easy to use this application because it is suitable for beginners. Let's start now to improve how you create your blog, so you can increase your chances of winning jobs on the wurk.fun platform. Let's learn together.
That is all from me; I hope many people find this helpful. Don't be afraid to start the important thing is to have the courage to try, and the result doesn't need to be perfect as long as your actions bring about change.


Latest comments
0